

 1901 Sinks
 Abey
Abey
 ADP
ADP
 ART Australia
 Blanco
 Caroma
 Decina
 Fienza
 Forme
Forme
 Geberit
 Linkware
 Linsol
 Lockwood
 Martec
 Meir
Meir
 Mercator
 Nero Tapware
 Oliveri
 Parisi
 Phoenix
 Radiant Heating
 Remer
Remer
 Timberline
 Turner Hastings
 Zip Water
 Accessories
 Basins
 Baths
Baths
 Mirrors
 Showers
 Taps
Taps
 Toilets
 Wastes
 Assisted Living
 Heating & Ventilation
 Boiling / Chilled / Sparkling Taps
 Sinks
Sinks
 Sink Accessories
 Laundry Tubs
 Laundry Taps
 Ceiling Fans
 Lighting
 Cooktops
 Induction Cooktops
 Gas Cooktops
 Electric Cooktops
 Dryers
 Fridges
 Microwaves
 Ovens
Ovens
 Rangehoods
 Washing Machines
 Black
Black
 Brushed Brass
 Brushed Gold
 Brushed Nickel
 Champagne
 Chrome
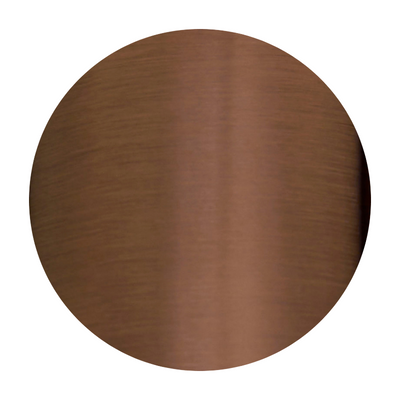 Copper
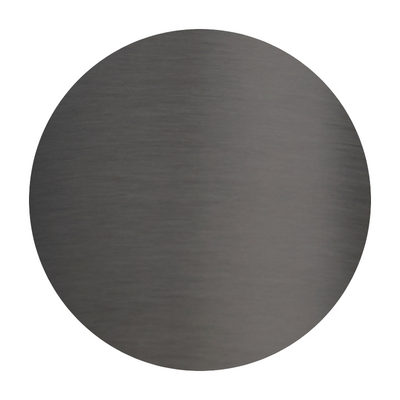 Gun Metal Grey
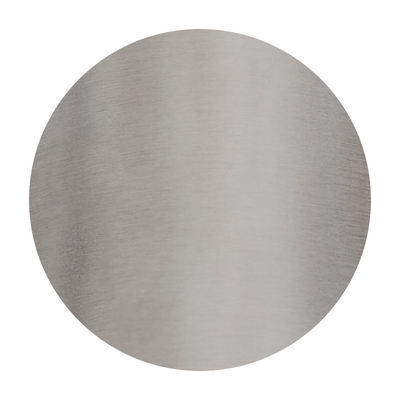 Stainless Steel

Toilet Set-Out Australia: Measure Before You Buy the Wrong Toilet
You have found a toilet you like. The shape works, the price fits the budget and the dimensions look sensible. Before you order, there is one less glamorous detail to check: where it connects to the drain.
That measurement is the toilet set-out. Getting it right helps you shortlist replacements that suit the existing plumbing. This Blue Leaf guide explains what to measure, what to photograph and how to compare your bathroom with a product drawing.
S-trap vs P-trap toilet set-out: quick comparison
The trap arrangement describes the waste connection. A toilet's appearance alone may not reveal it, particularly when the pipework is concealed.
| Arrangement | Waste connection | Measurement to confirm | Buying check |
|---|---|---|---|
| S-trap | Into the floor | Finished wall to floor outlet centre, horizontally | Model-specific S-trap set-out and connector |
| P-trap | Into the wall | Finished floor to wall outlet centre, vertically | Outlet height, alignment and connection depth |
| Skew trap | Side-facing arrangement | Outlet position and handed configuration | Manufacturer's left/right designation and drawing |
| Universal trap | Approved arrangements for that model | The relevant S-trap or P-trap measurement | Supplied or specified fittings and their limits |
Set-out is separate from pan length, seat height and room clearance. For those layout measurements, use our Australian toilet dimensions guide alongside this checklist.
How to measure your existing toilet before replacement
1. Identify where the waste goes
Look at any visible pipework behind or beside the pan. A floor connection suggests an S-trap installation; a rear wall connection suggests P-trap. Photograph what you can see, including any connector.
If everything is enclosed, record the existing model details and ask your plumber to confirm the arrangement. Floor fixing screws and the front of the pan are not reliable substitutes for the waste centre.
2. Measure an S-trap from the finished wall
Where the outlet centre can be identified, measure straight out from the finished wall face behind the toilet. In a tiled bathroom, that means the tile face, rather than the studs or skirting.
Keep the tape horizontal and measure to the centre of the floor outlet. Record the result in millimetres, with a photo showing both reference points.
3. Measure a P-trap from the finished floor
Measure vertically from the finished floor to the centre of the wall waste connection. Also note any sideways displacement from the proposed toilet centreline.
Have your plumber compare the outlet height and connection details with the new pan's drawing. A horizontal S-trap figure cannot be used as the P-trap measurement.
4. Record what remains uncertain
A note saying “outlet hidden, model number photographed” is more useful than a guessed measurement. You can shortlist styles while waiting for confirmation; settle the connection before ordering.
Take photos that answer the installer's questions
Take one wider photo showing the whole toilet and nearby wall, then a closer side view of the visible connection. A separate photo of the isolation tap helps show whether the new toilet's skirt could cover it. Keep the tape's zero point and reading visible when photographing a measurement.
Label each image with what you know: “finished tiled wall”, “existing floor level” or “outlet centre not visible”. If you are planning new finishes, send that information with the photos so an old measurement is not mistaken for the final one.
How to read a toilet set-out range
A recommended set-out and an allowable range are different pieces of information. The recommended figure identifies the manufacturer's preferred position. A stated range describes the positions supported by the specified installation arrangement.
Read the notes attached to that range. It may depend on a particular connector, an optional fitting or a specific pan. Keep the complete product code beside the drawing; similar-looking toilets in one collection can differ.
A real example: Caroma Luna 829710W
The installation document linked from Caroma's current 829710W product page specifies a recommended S-trap set-out of 140mm and a range of 60–185mm with the supplied Uni-Orbital connector.
If your confirmed floor outlet is 160mm from the finished wall, it falls within that stated range. That makes the Caroma Luna Wall Faced Toilet Suite, 829710W worth checking with your plumber. The inlet, alignment and other installation details still need approval.
A 205mm measurement is outside that particular published range. Ask about another suitable model or an expressly approved alternative arrangement. Avoid extending a range by assumption.
These figures apply to the cited Luna model and document. Confirm the current specifications for the exact suite you order.
Will a universal trap or offset connector make it fit?
A universal-trap pan can support more than one connection arrangement when installed with its specified fittings. The word “universal” does not establish compatibility with every bathroom.
Caroma lists the Uni-Orbital Long connector, 416040 and Uni-Orbital Short connector, 416041 as separate parts. Confirm which one is specified for the pan and job before adding either to your order.
Caroma describes adjustment within a 50mm radius for these connectors. That adjustment operates within the documented installation geometry; it is not a blanket extra 50mm to add to every advertised set-out range.
The pan matters as much as the fitting. Fienza's Flexi-Connect and extended S-trap pipe information also makes the available set-out dependent on the pan being used. Choose the approved combination, rather than a connector that merely looks similar.
Check the water inlet separately
The waste outlet takes water away; the cistern inlet supplies fresh water. A matching trap arrangement does not confirm a matching water connection.
Note where the existing isolation tap sits. Compare it with the proposed cistern's bottom-inlet or back-entry arrangement, hose access and connection position. A concealed connection can look neat, but it needs to suit the installation drawing.
When comparing Caroma toilet suites at Blue Leaf, check the inlet variant and full model code together.
What if you are measuring before tiles are installed?
Set-out needs a finished-surface reference. Give your plumber the planned wall build-up and finished floor level, including any new lining, tile or floor construction.
For a simple S-trap example, suppose the outlet centre is 160mm from the bare wall face. If the final wall finish projects 15mm towards that outlet, the finished-wall measurement becomes 145mm: 160 minus 15.
Likewise, raising the finished floor reduces the vertical distance to an unchanged P-trap outlet. These examples explain the geometry; your installer should confirm the actual reference levels and product requirements.
What if the outlet is hidden behind the toilet?
Start with photographs and the existing model number. Older invoices or installation documents may help identify the setup, but an adaptor or previous alteration can change what is underneath.
Arrange verification before purchase if the critical measurement cannot be established. Any disconnection needed to inspect the outlet belongs with your plumber.
Check the final position in the room
Once the connection is feasible, confirm where the installed pan and cistern will sit. Check the door swing, nearby vanity and maintenance access. For shorter models, our compact toilets guide explains the space trade-offs.
Your before-you-buy toilet replacement checklist
Keep these details together when you speak with Blue Leaf and your installer:
- Existing toilet brand and model number, where available.
- Confirmed floor, rear-wall or side-facing waste arrangement.
- Set-out measurement with the finished-surface reference identified.
- Photos of the toilet, visible connector and water isolation tap.
- Exact replacement suite code and installation drawing.
- Required connector, inlet variant and supplied components.
- Installer confirmation of fit and any additional work.
If the existing toilet works and only a component needs replacement, our Caroma toilet parts identification guide can help you gather the right details first.
Three buying mistakes worth avoiding
Choosing from a photograph alone
Two suites can look almost identical while having different inlet arrangements or connector requirements. Compare product codes and drawings before comparing finishes.
Treating a connector as a guaranteed fix
An approved adaptor can help with some installations. It cannot establish fit without checking the pan, outlet position and available space.
Comparing product prices without the installation scope
Ask whether the quote includes removal, disposal, required fittings and any changes to the water supply or finishes. That makes the total replacement cost easier to compare.
Make your shortlist easy to check
For each shortlisted toilet, save the product code, installation drawing, inlet option and connector details in one place. Send the same bathroom measurements to your installer for both options. A clear comparison might reveal that the cheaper suite needs extra work, while another suits the existing connections more closely.
Ask for a specific answer about each model: what fits as supplied, what additional parts are needed, and what remains unverified? Once those questions are answered, choosing between seat features, cleaning access and appearance becomes much easier. Keep the confirmed variant details with your order.
Replacing a toilet in Sydney or NSW
Use an appropriately licensed plumber for the replacement and connection work. NSW requires the relevant licence or certificate for plumbing and draining work regardless of its cost.
For an apartment, check the scheme's by-laws and discuss the scope with your strata manager, particularly if the work could affect common property or waterproofing. Retaining the existing location is worth investigating, but the installer still needs to confirm compatibility.
Toilet set-out Australia: frequently asked questions
What is the standard toilet set-out in Australia?
There is no single measurement that confirms every toilet will fit. Products specify their own set-out or supported range. Measure your existing connection and compare it with the exact replacement model's drawing.
Is toilet set-out the same as rough-in?
Both terms can refer to the waste connection position in toilet specifications. Check the drawing's reference points: S-trap uses a horizontal measurement from the finished wall; P-trap uses a vertical measurement from the finished floor.
Can I measure to the toilet's floor bolts?
Do not assume they mark the waste centre. Fixing positions depend on the pan and installation. If the outlet is concealed, ask your plumber to establish its position.
Will any S-trap toilet replace my existing S-trap toilet?
No. The set-out, connector arrangement, inlet and physical fit still need to match. Knowing the waste goes into the floor is only the first check.
Can I change from S-trap to P-trap?
Changing where the building's waste connection runs can require plumbing alterations. Some universal pans support floor or wall connections through specified fittings. Ask your plumber which arrangement suits the existing outlet.
Does “back-to-wall” mean P-trap?
No. Back-to-wall describes how the toilet sits against the wall. A particular model may support an S-trap installation, P-trap installation or specified options. Read its technical information.
Can I keep my existing toilet and replace the seat?
Often, if a compatible replacement is available and the rest of the toilet is serviceable. Use our toilet seat measuring guide to check the shape, dimensions and hinge arrangement.
Find a toilet that fits before you order
Have your trap arrangement, confirmed measurement and inlet details ready, then explore toilet suites at Blue Leaf Bathware & Tiles.
Share the shortlisted model codes and drawings with your plumber. A compatibility check now is easier to organise than a replacement that arrives before anyone has confirmed it will fit.
References and installation information
- Caroma Luna 829710W: specifications and installation downloads
- Caroma Uni-Orbital Long 416040: connector information
- Caroma Uni-Orbital Short 416041: connector information
- Fienza Flexi-Connect: pan-dependent set-out information
- Fienza extended S-trap pipe: compatibility information
- NSW Government: plumbing and draining licence requirements
- NSW Government: strata renovation rules